Demonology Sleeve
Hello and thank you for coming by to hear me ramble about this and that! The following is an adventure of how I got from point A to point B, design speaking of course!
This story begins like all stories, with a client and a tattoo artist but this client wanted something dark and evil and he knew this tattoo artist would have a blast! Ha!
The only limitations were that there were no limitations, which oddly enough, can be limiting at times. With so many roads to go on, it can be difficult to just choose one, so in this scenario i decided to come up with 3 story lines to help narrow down the process, each one more complex than the next.
- in our first story line the idea was simple “A demon with tentacle like arms grasping the heads of the rotted corpses from the deep”
- our second choice focus less on the demon and more on the actions around him “ Burned village and corpses gathered on spikes as the demon responsible laughs at all the dismay”
- finally our third choice is revised version of the first “as Cultist chant and dance around the sacrifice, the demon lord rips out from the chosen ready to claim the world”
The interesting part was that our client liked different elements from each of the rough sketches and because i need a story to help me with the design process i came up with the aftermath of our second story “as the hearts of men burn with his mark, the dark lord broke through the thin veil of this reality, ready to decimate this new world”.
Now that we had the story, a rough sketch and a general idea I began the design process. A bit of fair warning for those who wish to read on, things may get a bit technical ;).
For my design process (especially when involving figures) i like to use 4 main programs; Daz3d Studio, Zbrush, Keyshot and Photoshop to finalize it all.
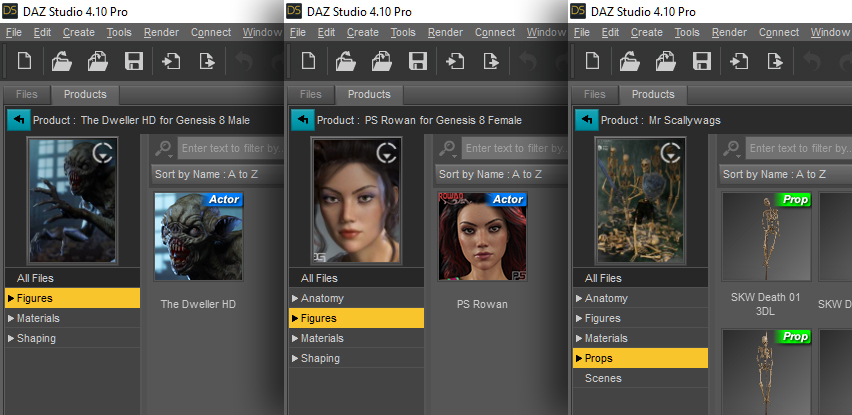
In our examples below our the main products I purchased along with the links of where to find the (click on the buttons for the links)
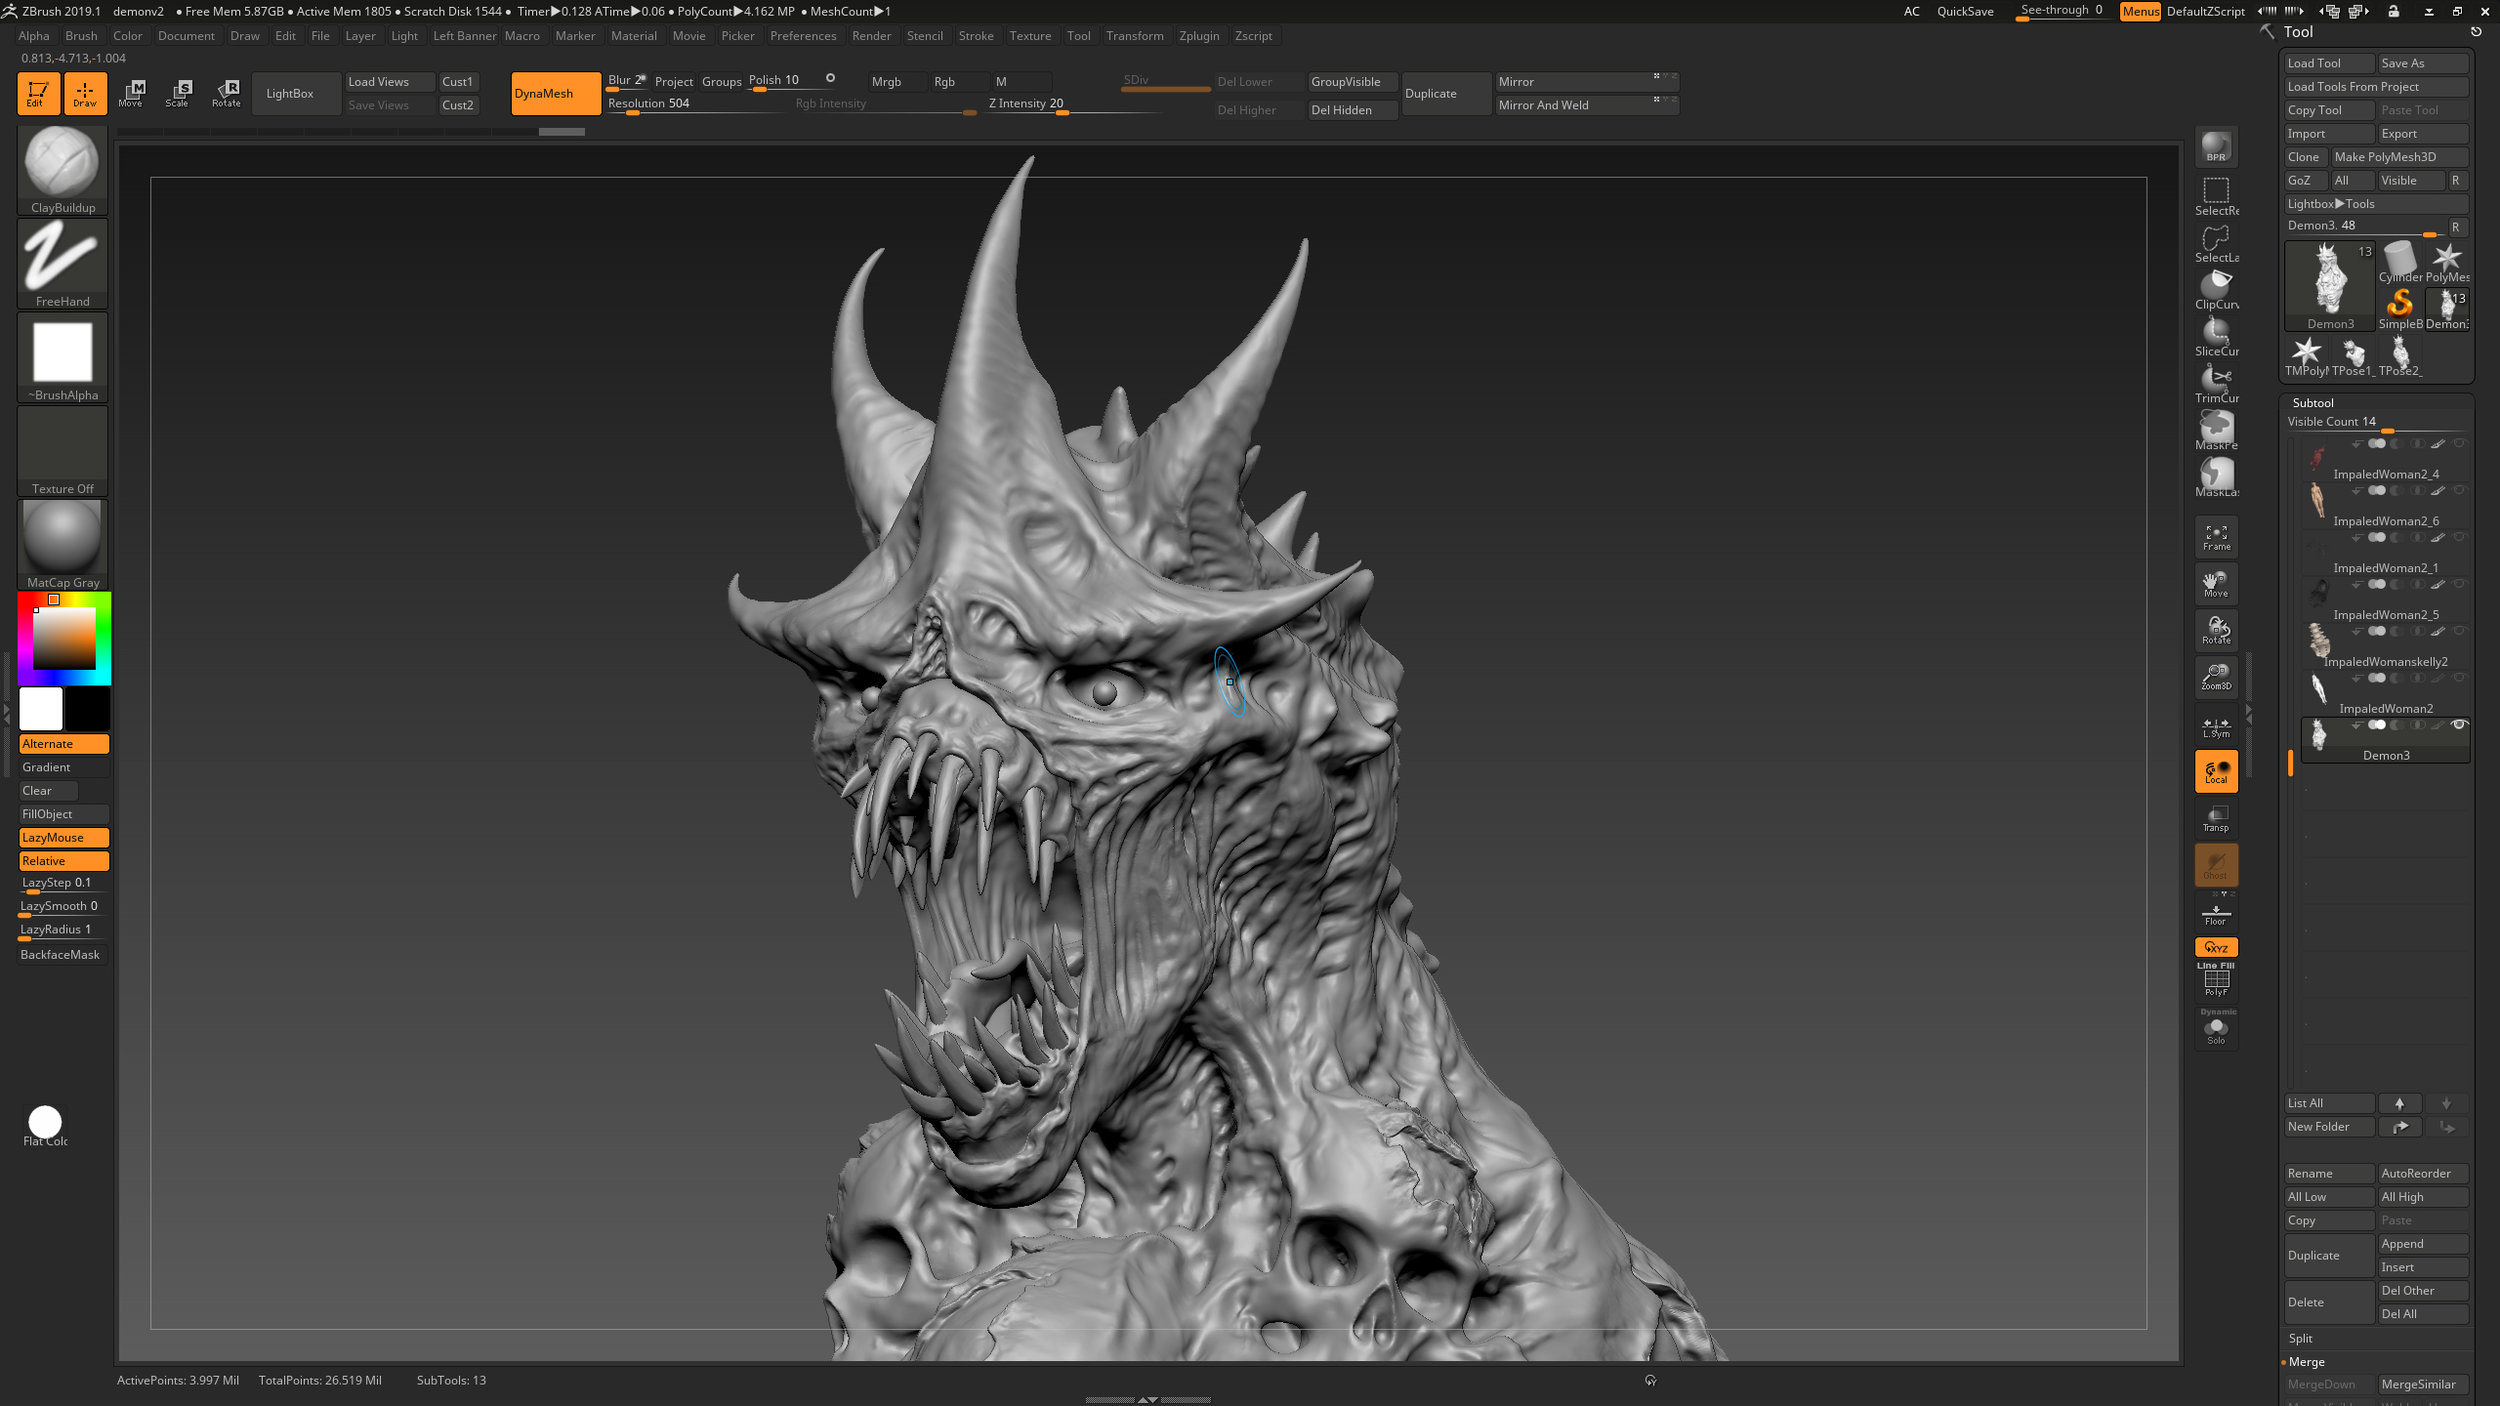
The model file “Rowan” is the main female i used for all the impaled females, the Scallywags pack was used to pose the models onto the spikes and finally, the monster i used as a base to begin modeling, taking it from this to this! using primarily these tools in Zbrush!
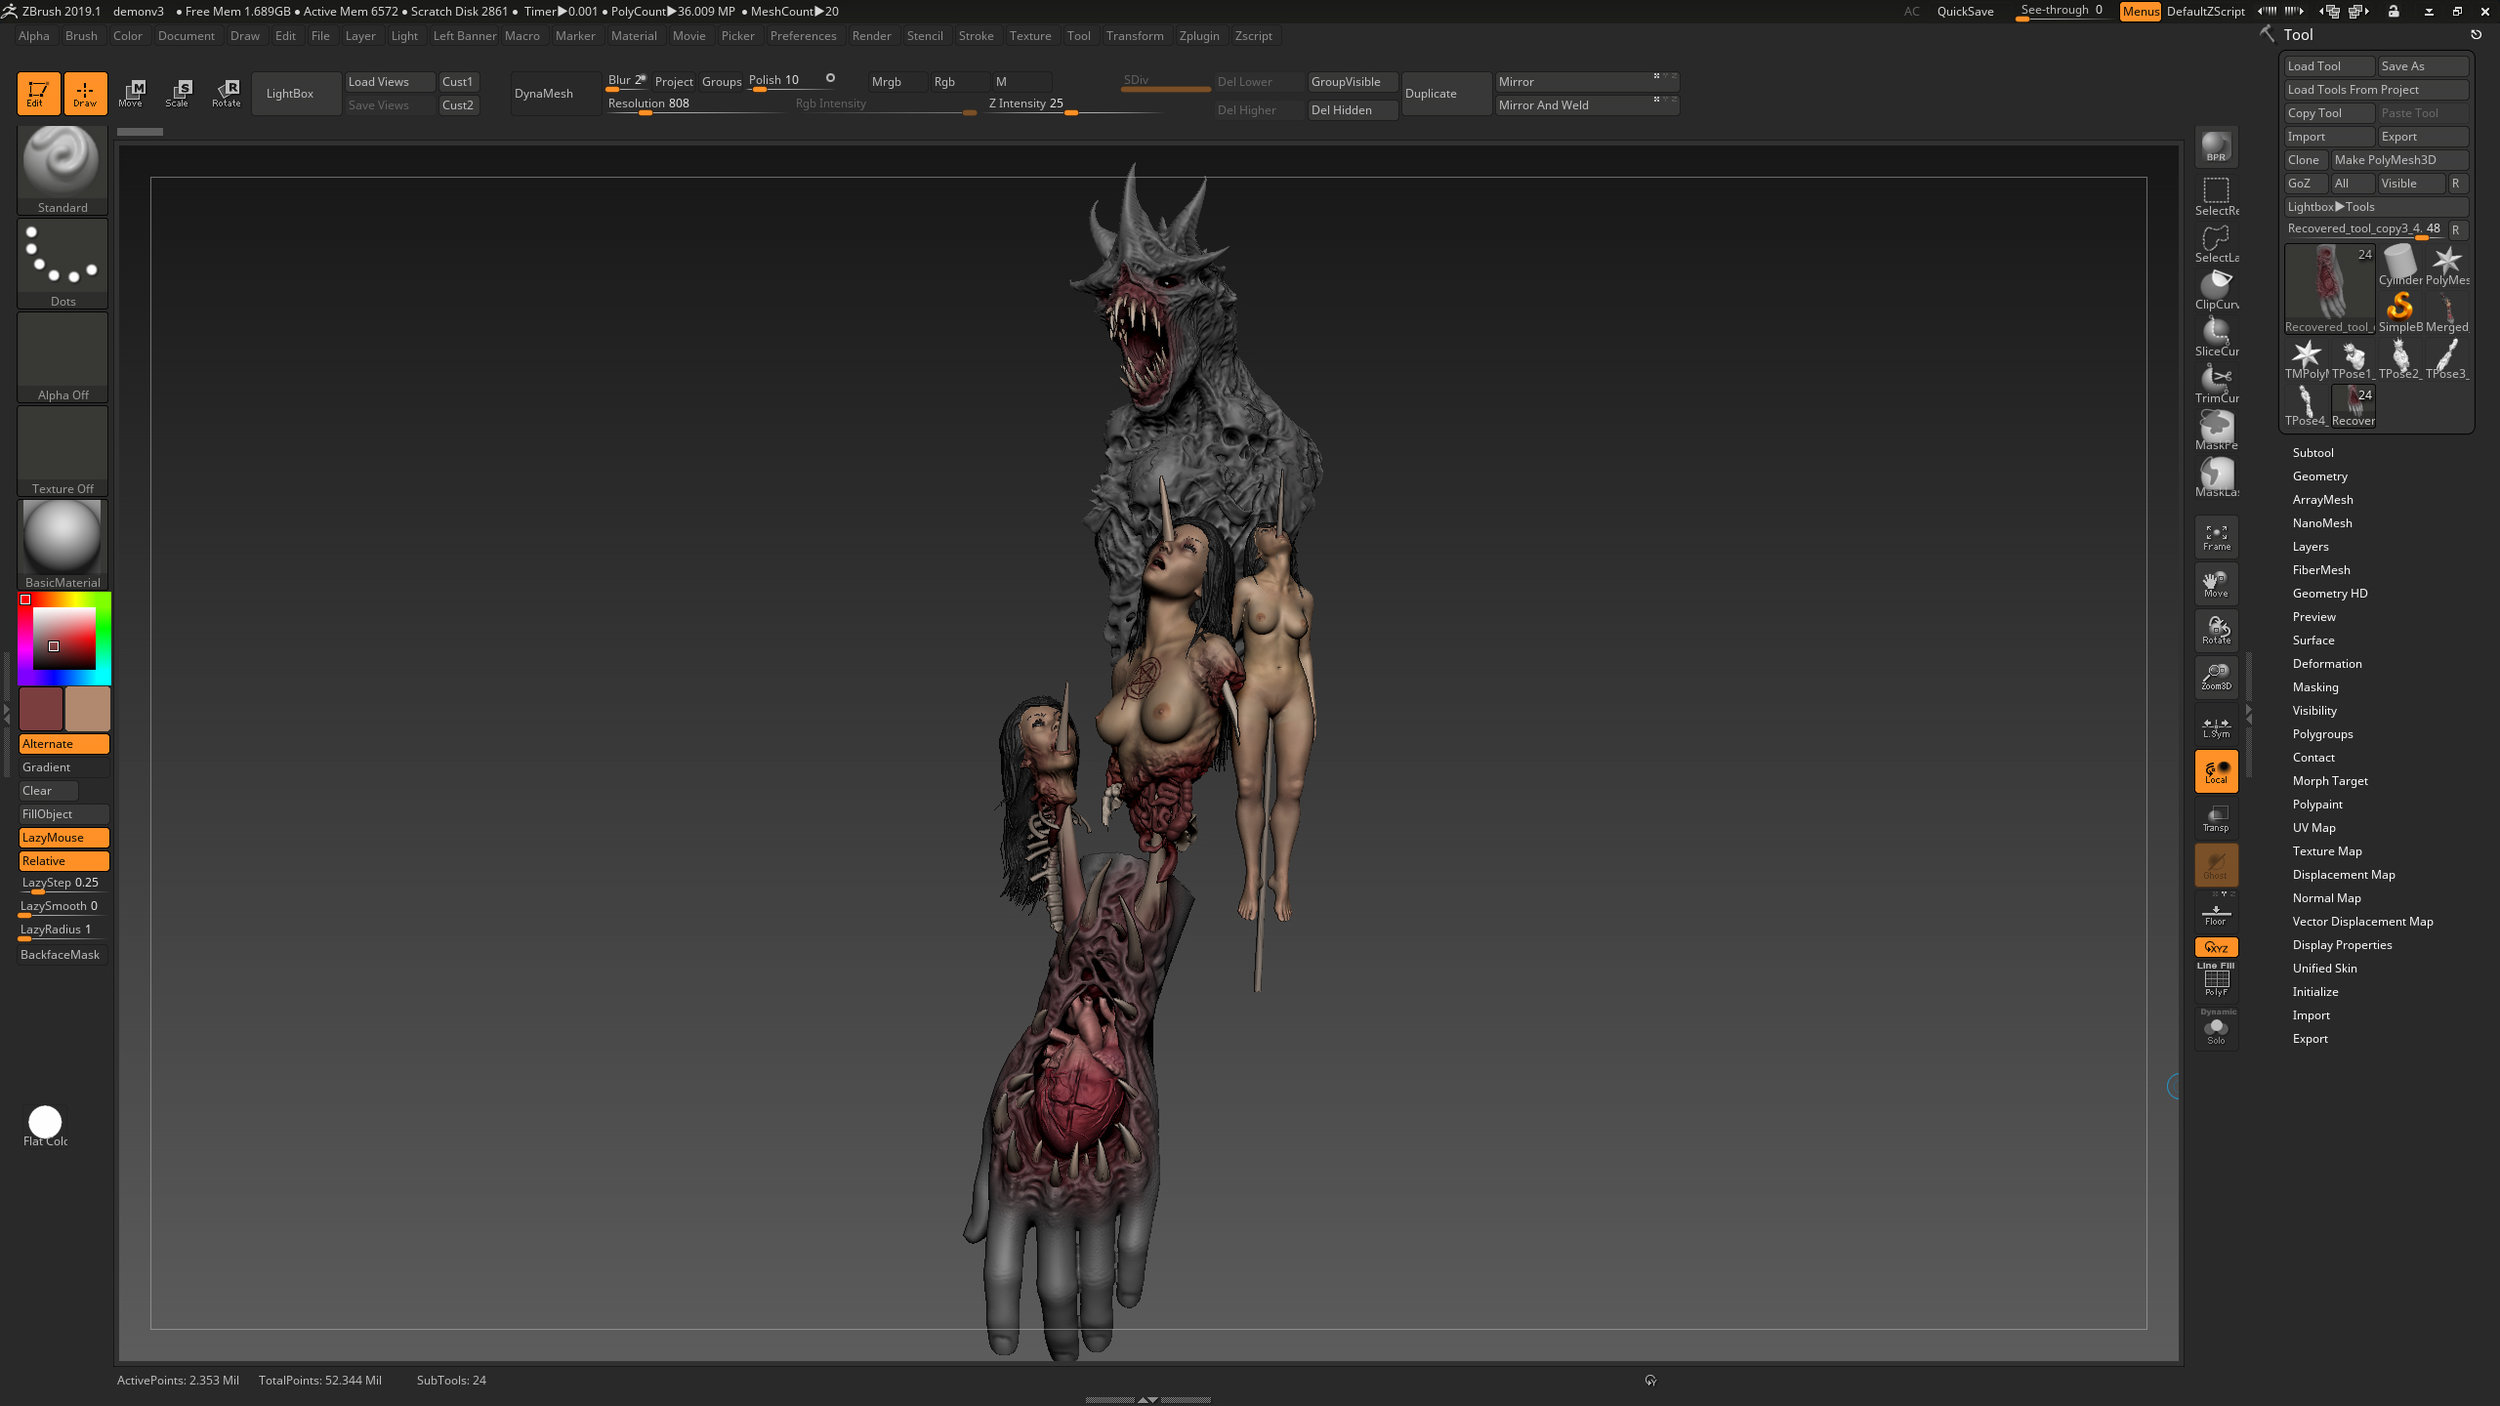
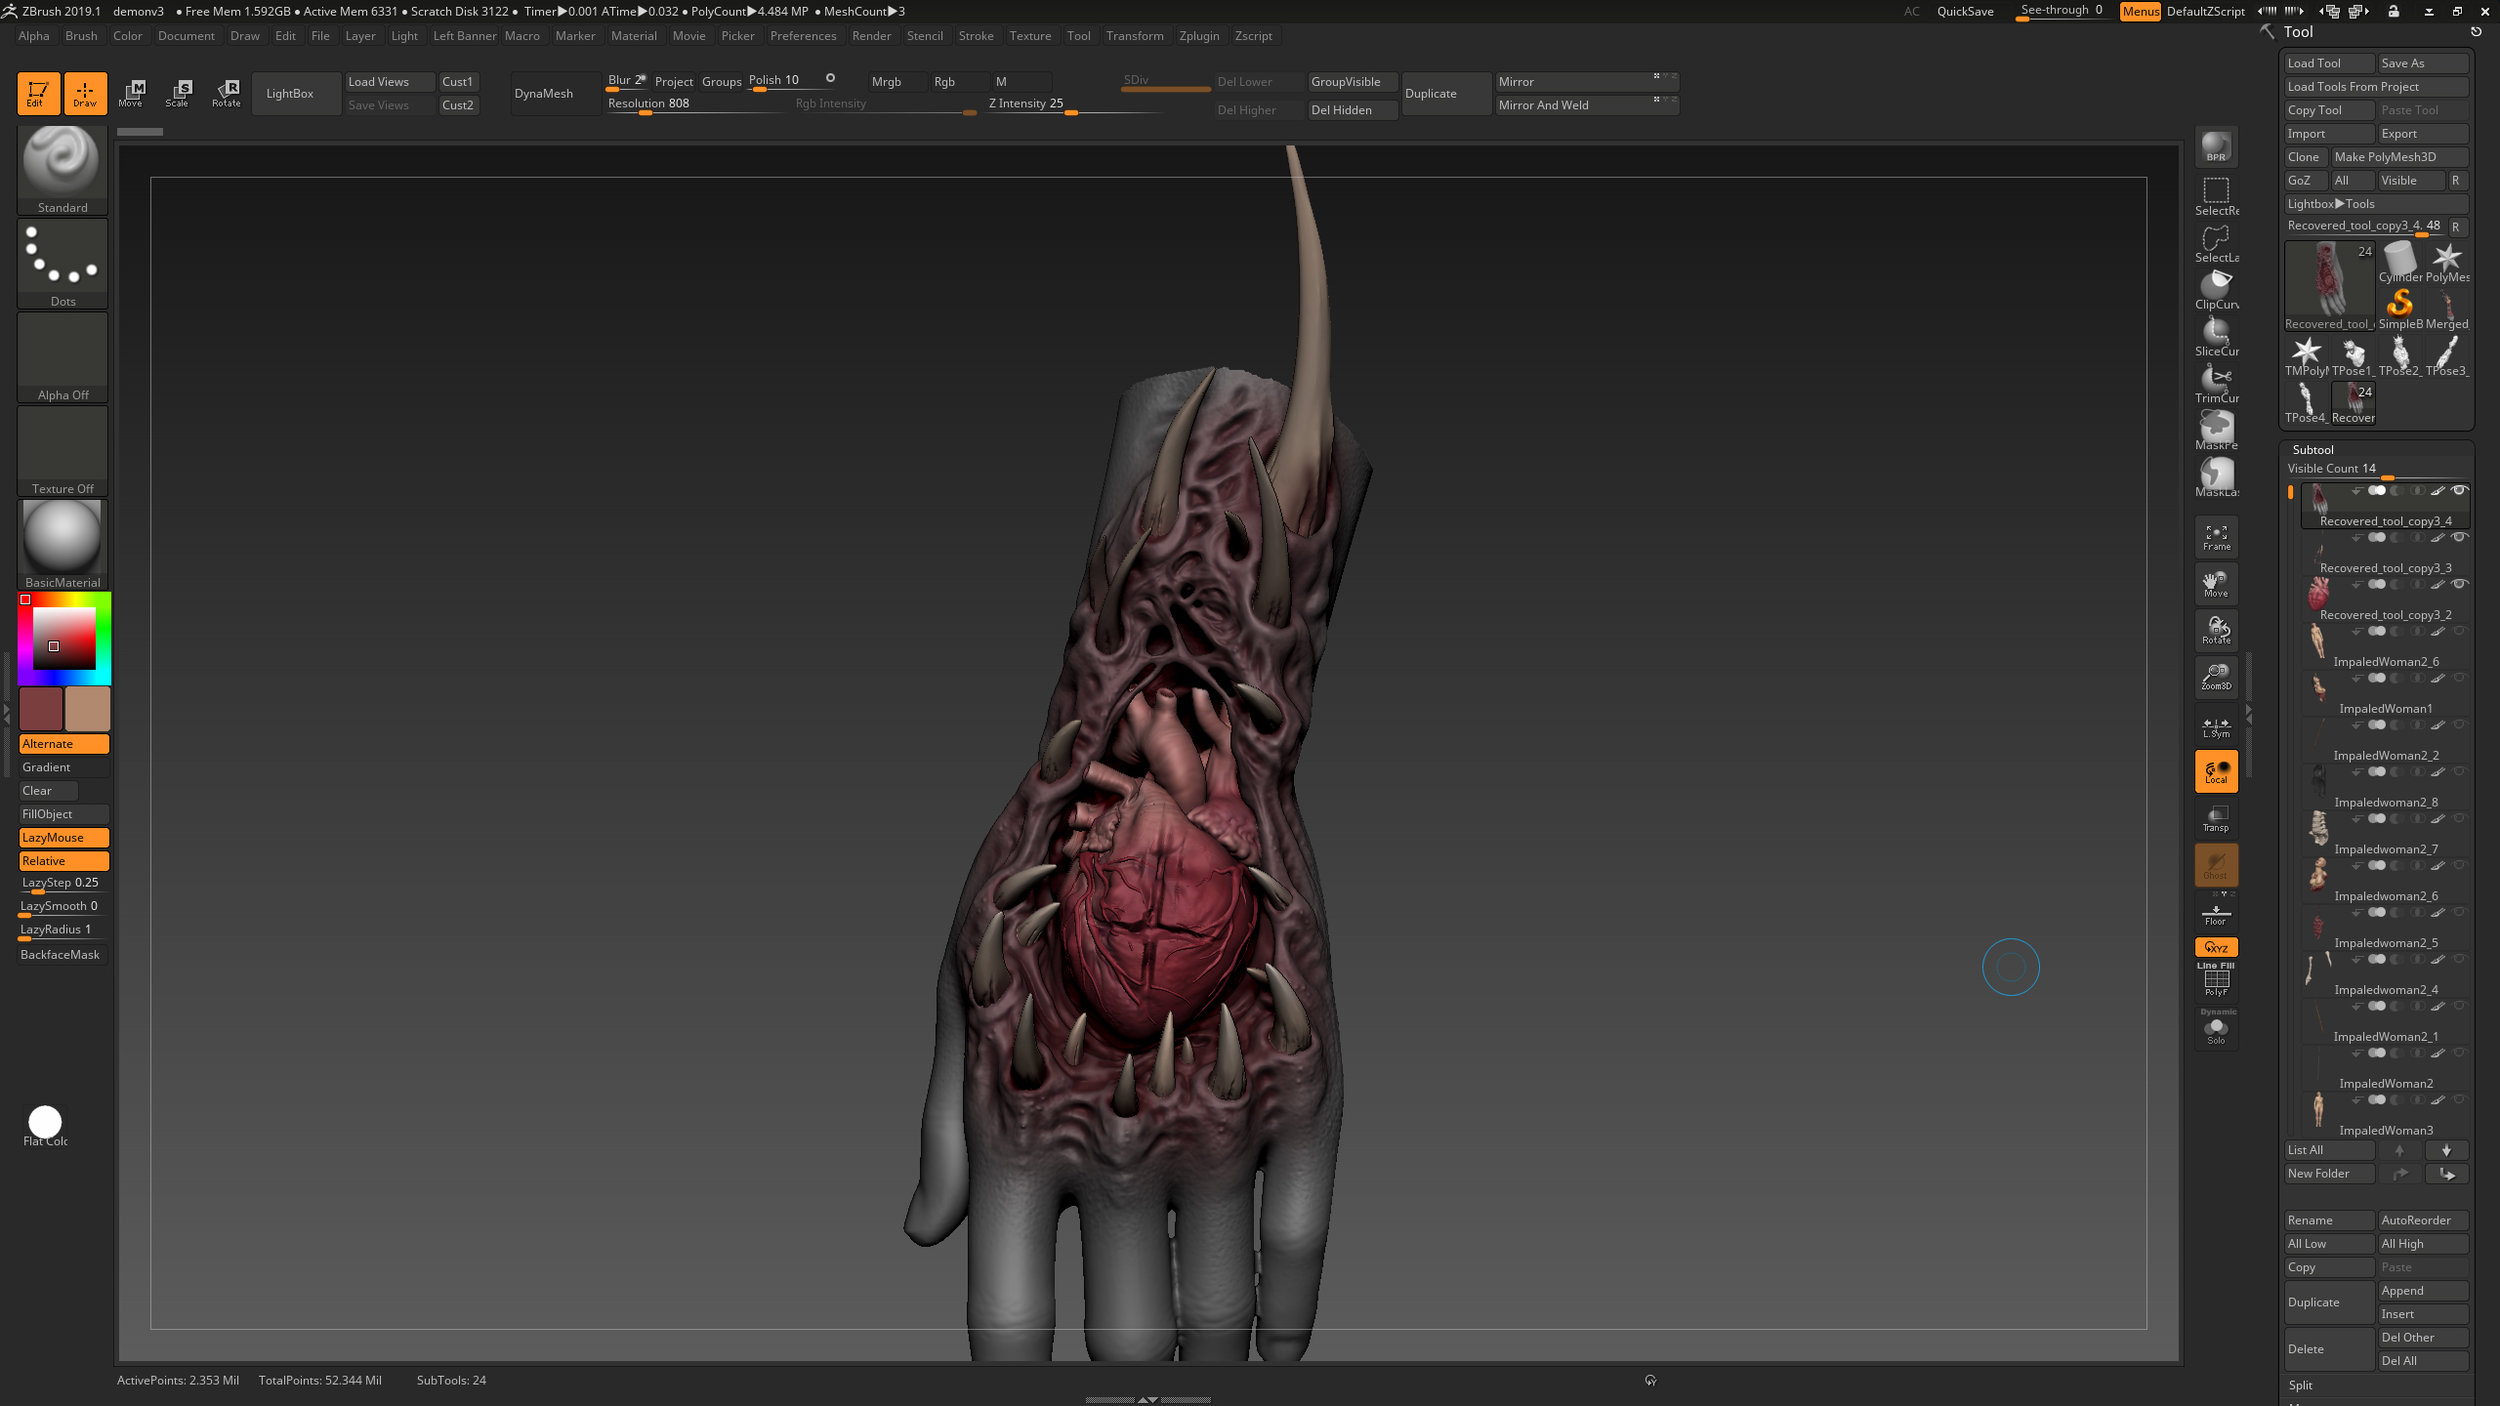
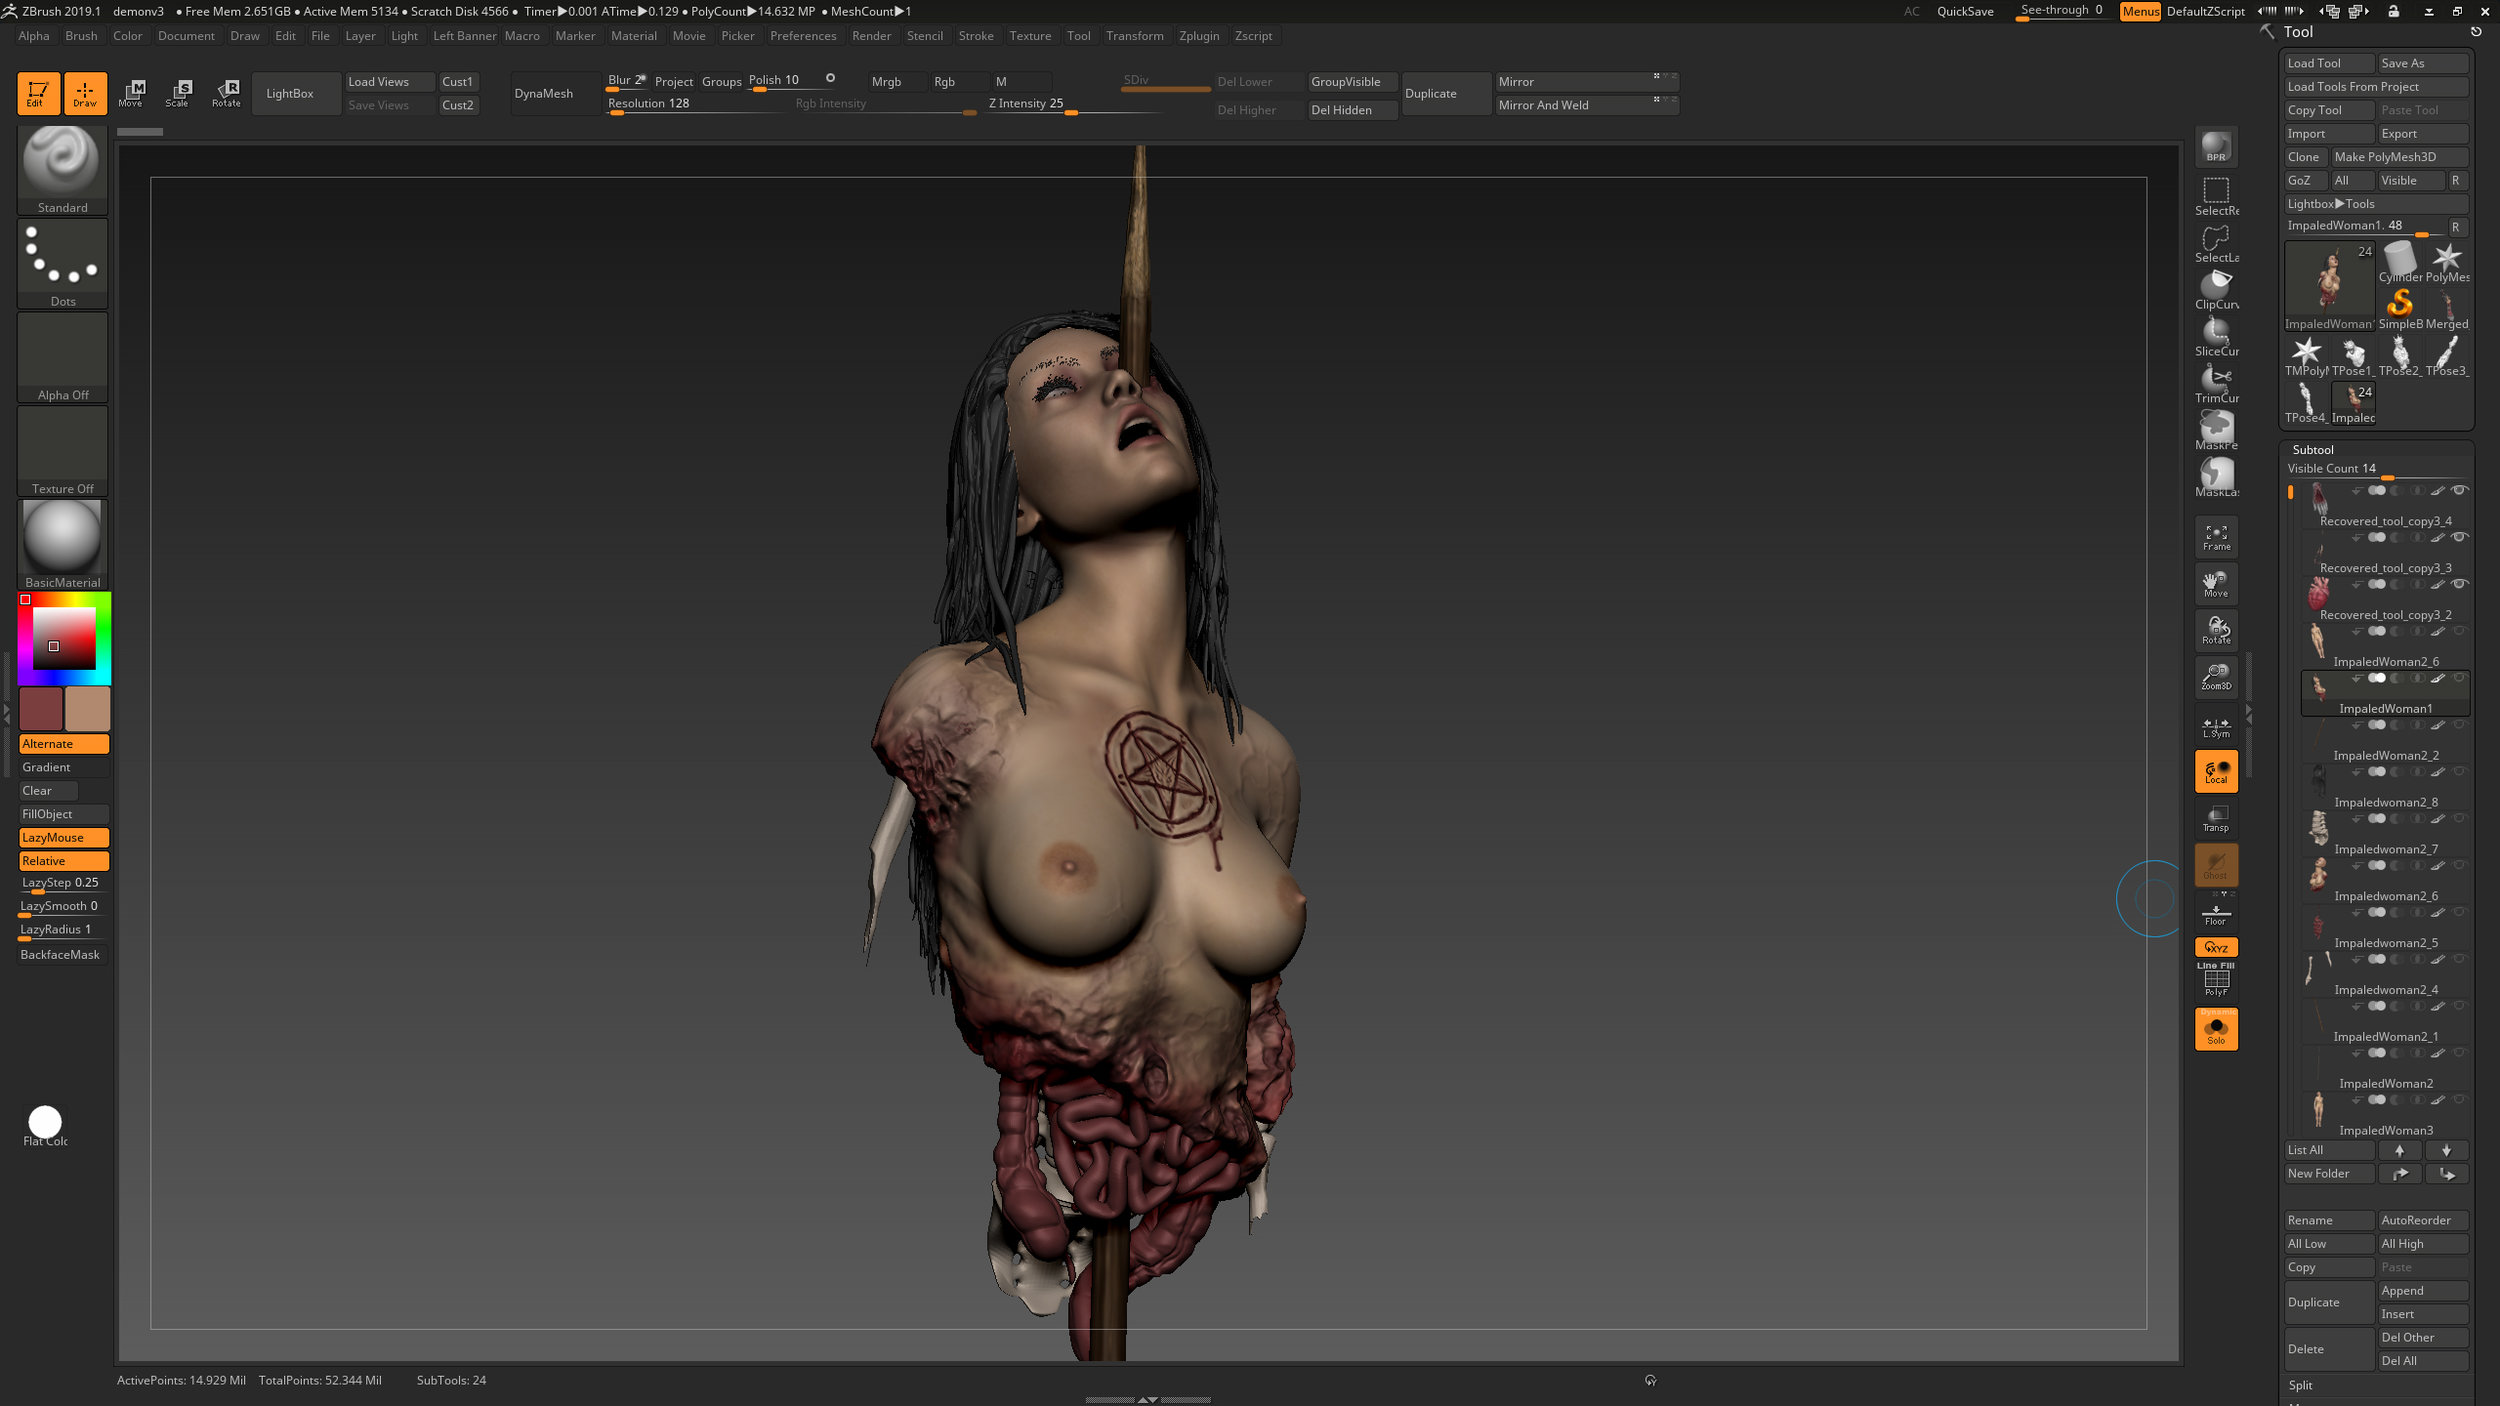
Once i had everything posed in Daz3d i exported them out as OBJ’s to bs able to import them into Zbrush where i can really get into the gory details.
Below are a few snaps of the process and how i turned the models into the gore-fest finally-
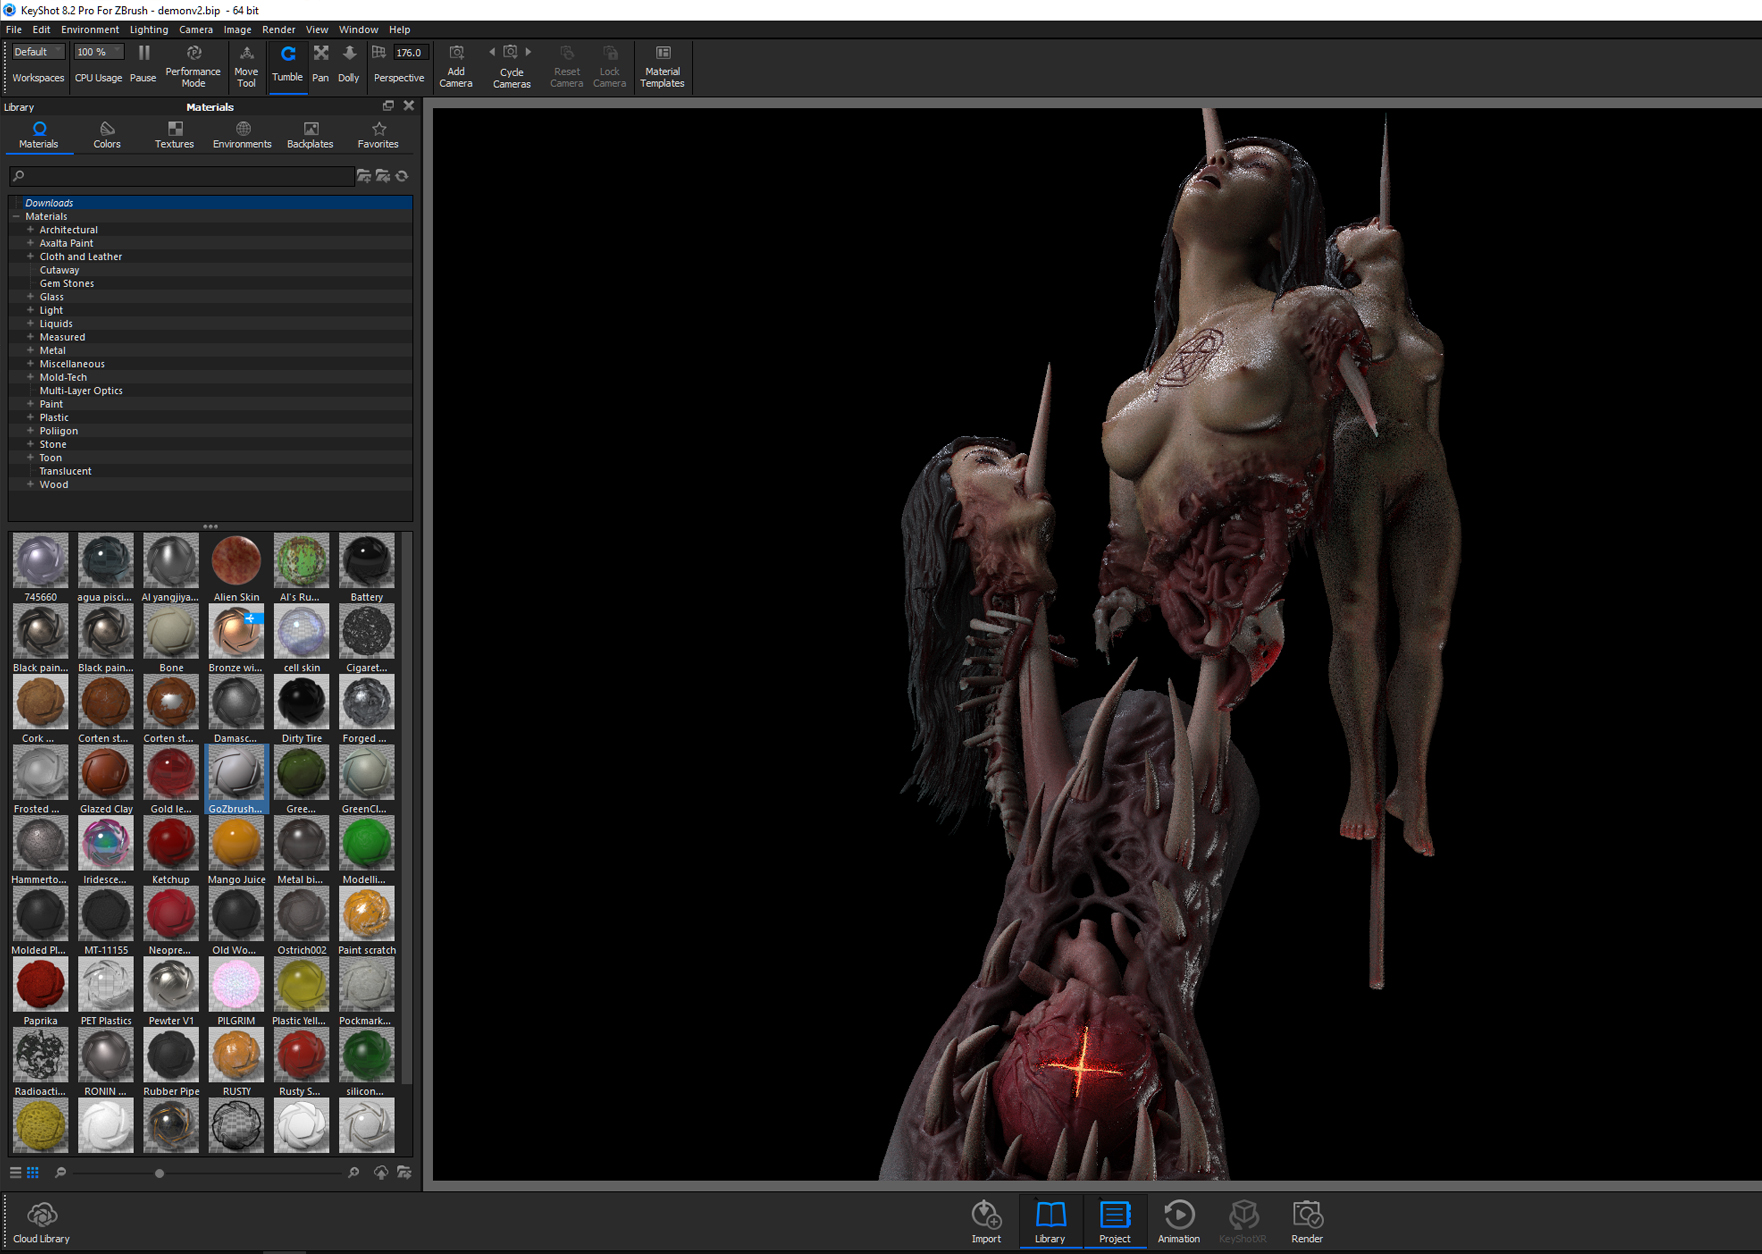
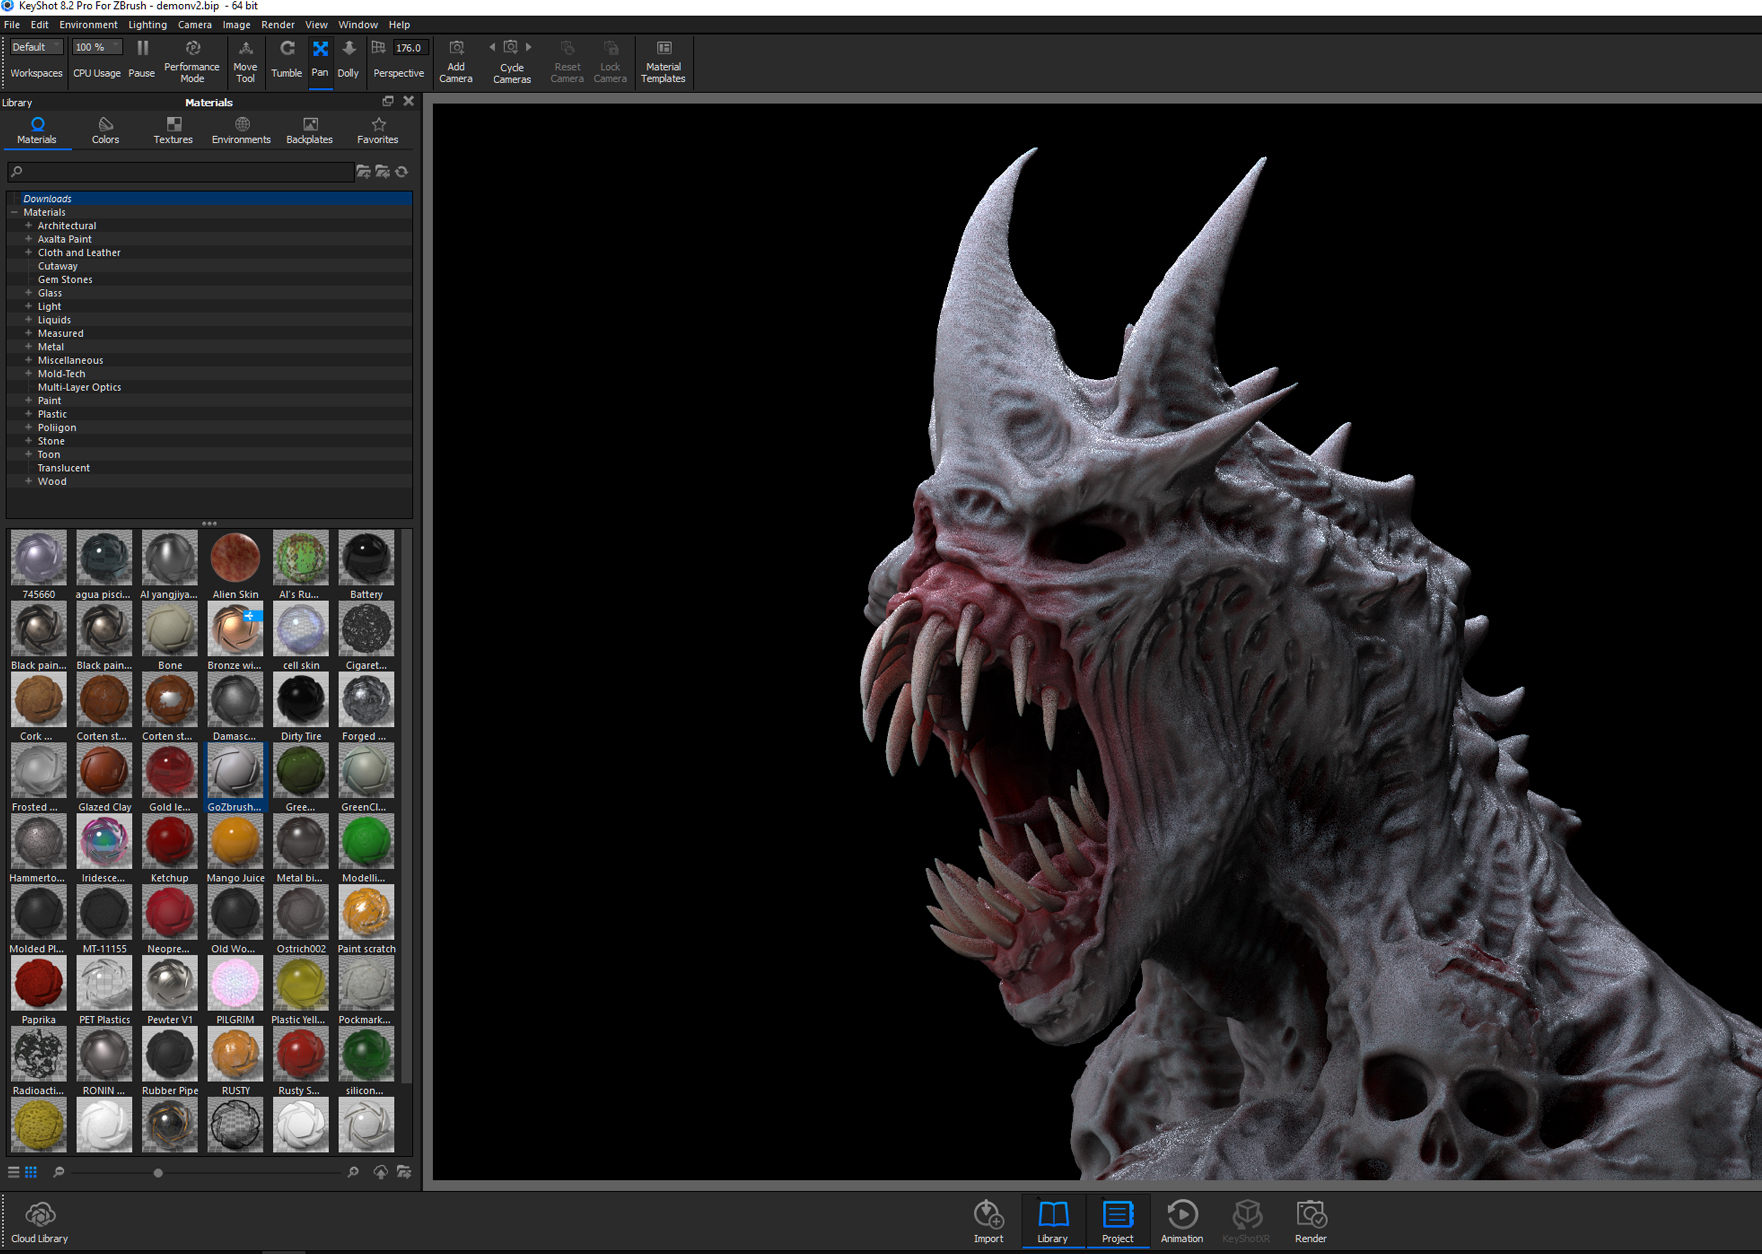
Once i had everything posed and detailed and got the approval from our client, the real good stuff can begin. In Keyshot is where we render all those cool light effects, i render out each light source as a separate “pass” to be able to tweak and play with in photoshop like shown below
Once each pass is complete (which for this sleeve... was A LOT lol) i then take it into photoshop where tediously i pieced them all together, tweaked, deleted, copied and pasted to create our overall final render, here we were able to also create the outline for the stencil and now the needle is ready to meet skin.
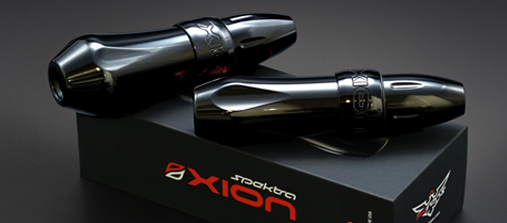
Fkirons Xion, i run a 3.7 stroke at 8.5 volts with the give about 2-4 clicks from the softest
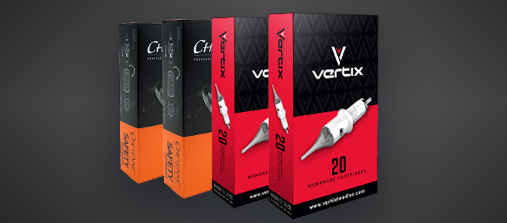
Needles i used a combo of Vertix and Cheyenne needles - Needles were -
Vertix 5 round shader
Vertix 7 mag medium taper
Vertix 11 mag medium taper
Vertix 27 mag bugpin curved
Cheyenne 5 tight liner
Cheyenne 15 curved mag (soft edge)
Total time for the design process- 10-15 hours (not all at once, between 2-4 hours each night)
Total tattoo time - 30-35 hours completed in two “two days back to back” sessions totally 4 days.
I hope you all enjoyed, i know i enjoyed re-living the moments creating this piece by writing this out. If you have any questions, please feel free to ask in the comments below, ill do my best to get back to you and and if you enjoyed this and would like to see more or have any suggestions for future blog topics, please share them below, id live to hear them out :)
Thank you all again, without you, we have nothing, and for that I’m grateful!


